Table of Contents
Virtual system - New virtual system in 5 minutes
What is a virtual system?
A virtual system is a system that can not be directly connected for online management. The reason may be for example the absence of a suitable system connector. The virtual system is basically only a registration mode, where for each system change is generated the implementation request (notification) that is assigned to the particular implementer. This implementer must ensure that the change is made to the target system. In other words, IdM "knows" what the user should have on the system for accounts and permissions, but on the real system this is executed by the implementer (administrator).
What do you need before you start
- You need install CzechIdM 7.4.0 (and higher).
- You need be logged in as 'admin'.
- You need enable 'Virtual system' module.
Create virtual system
You have two options how create virtual system.
The first option - more complex:
- Manual create IdM system.
- Use virtual connector.
- Set virtual connector configurations.
- Generate system schema.
- Create mapping for provisioning
- Create attributes for mapping.
The second option - easier way is to use the automated creation of the virtual system.
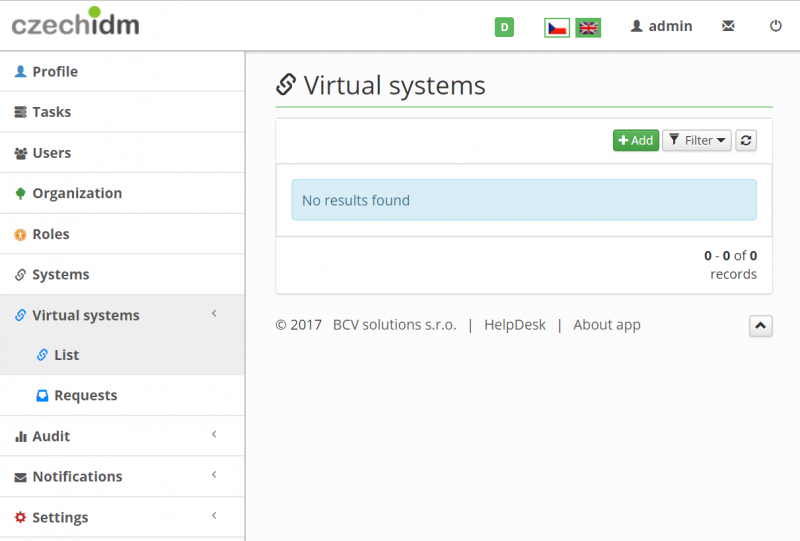
01 - In right main menu select 'Virtual systems / List'.
02 - Click on 'Add' green button to create a new virtual system
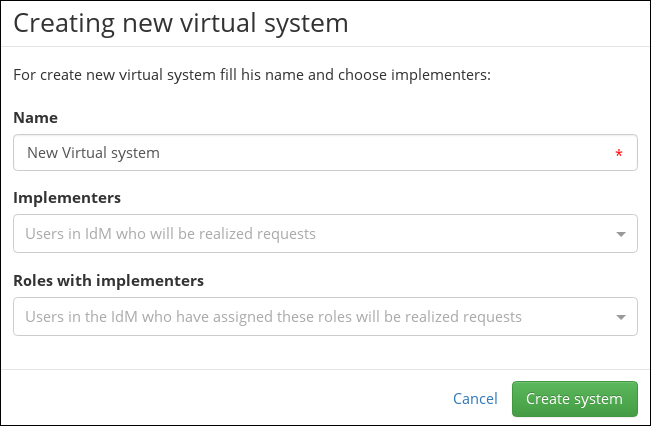
- Dialog for the creation of a new virtual system is shown.
- You have to only fill name for your new virtual system.
- In our case 'NewVirtualSystem'.
- Click on 'Create system'
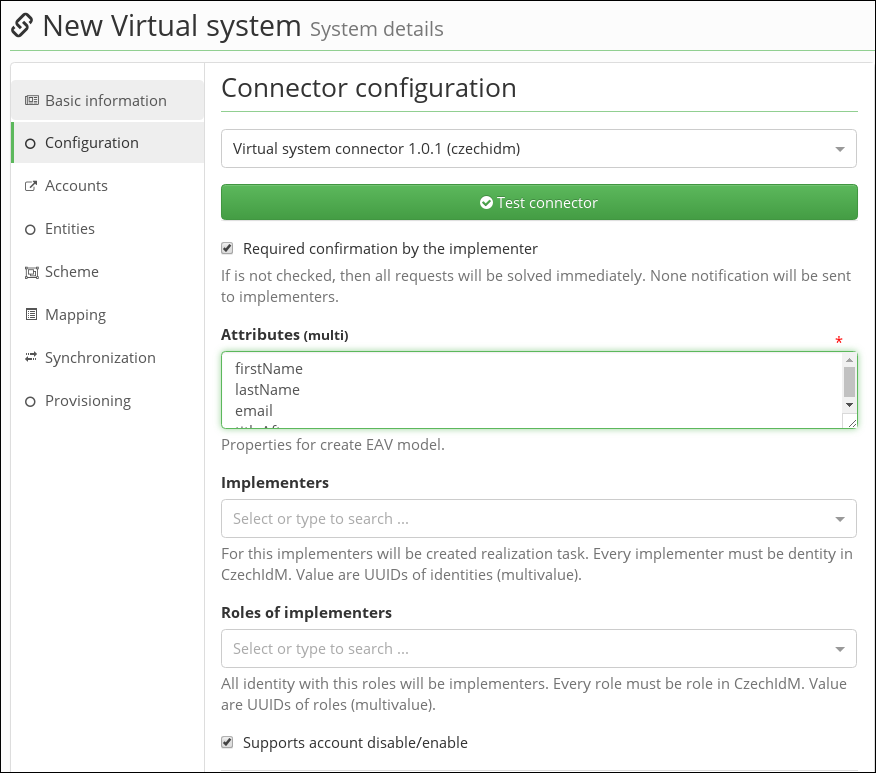
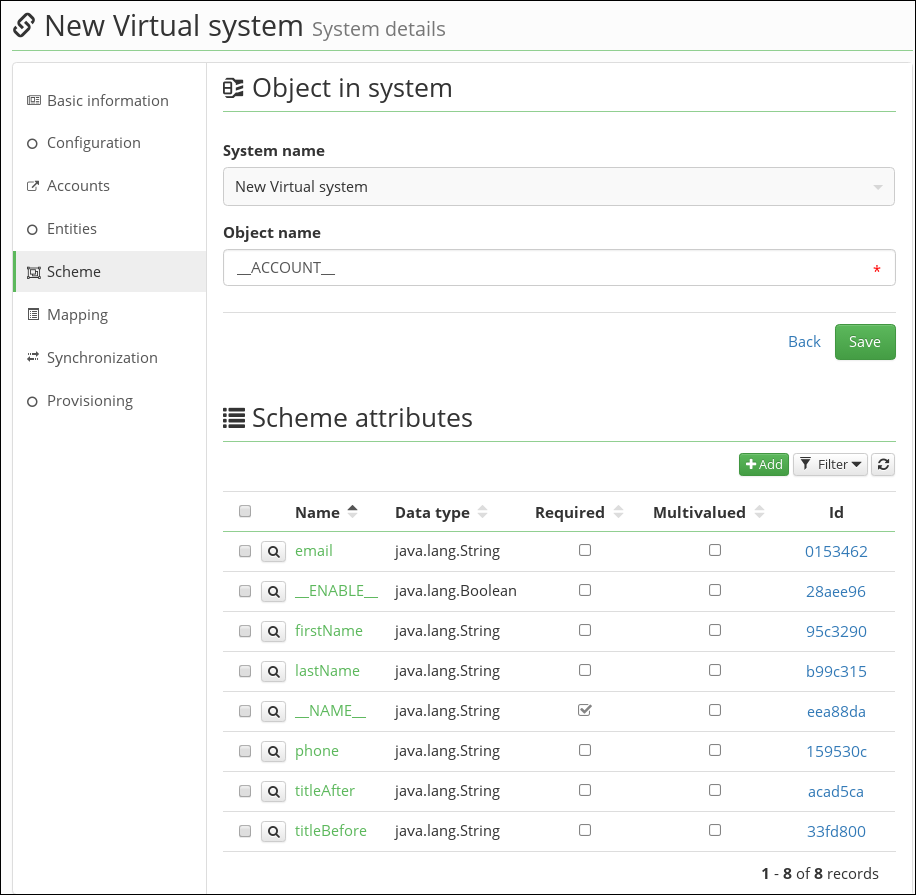
03 - Check your new virtual system
System configuration:
System schema:
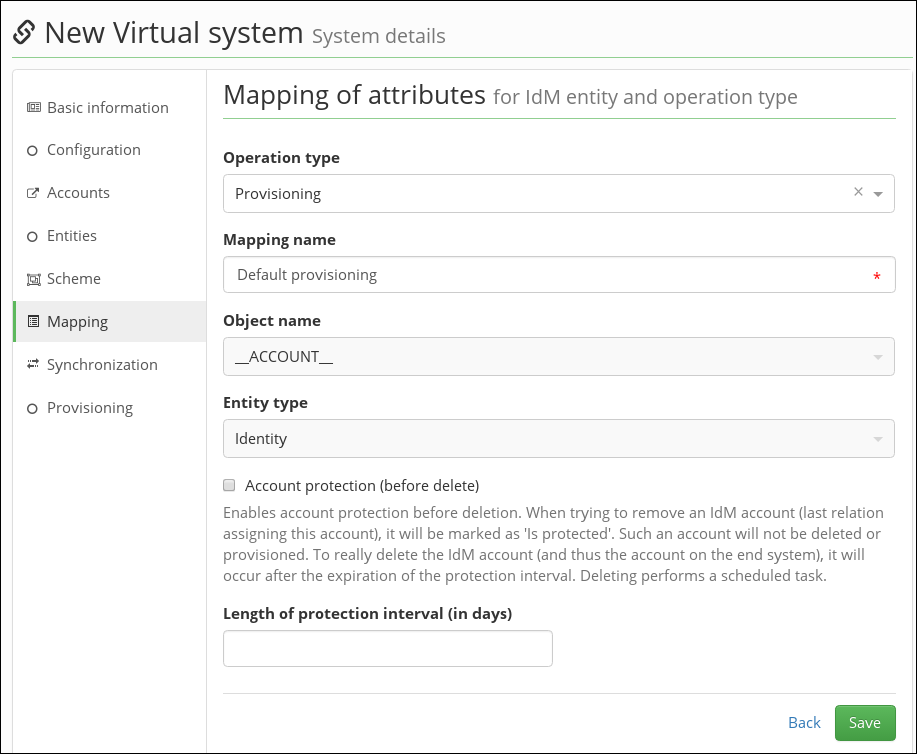
System provisioning mapping:
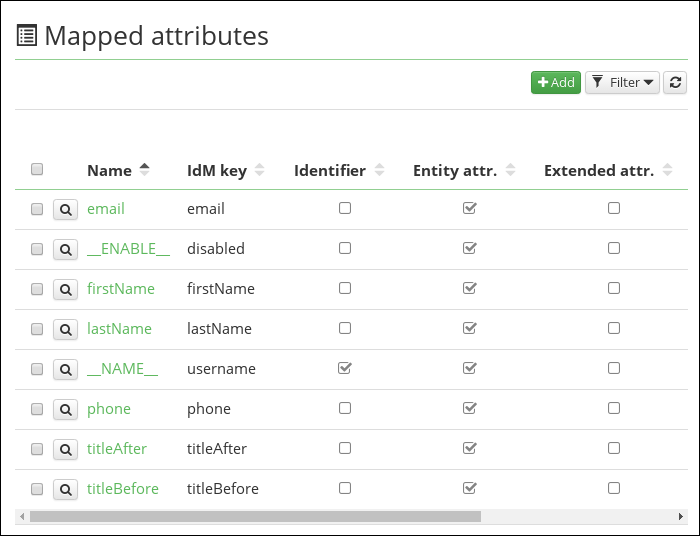
Mapped attributes for provisioning:
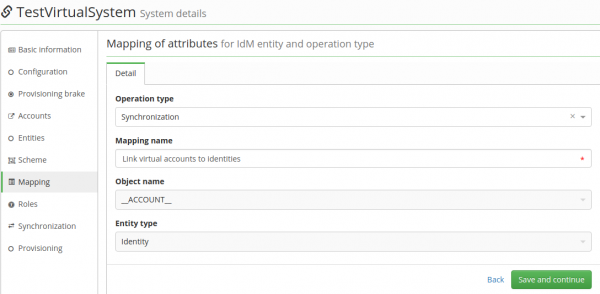
System synchronization mapping:
Mapped attributes for synchronization:
Synchronization:
Create new role
- We have created virtual system. Now we want assign system to some user.
- For this we need create new role and create mapping on for new virtual system.
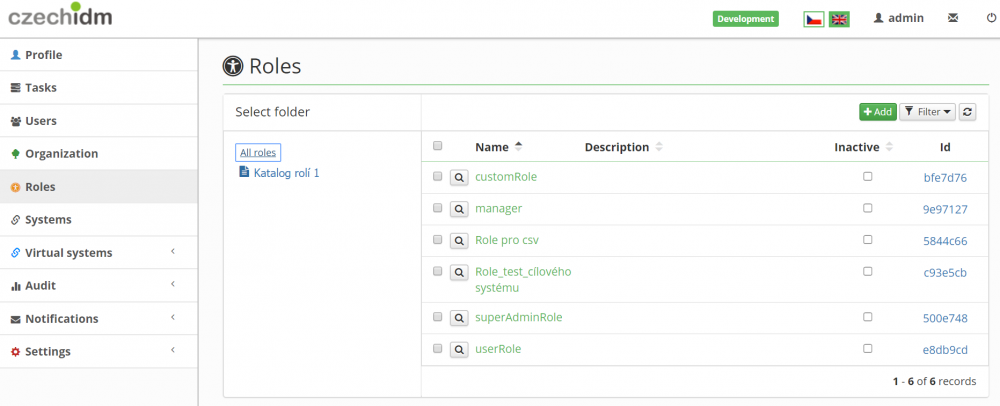
04 - In the left main menu select 'Roles'.
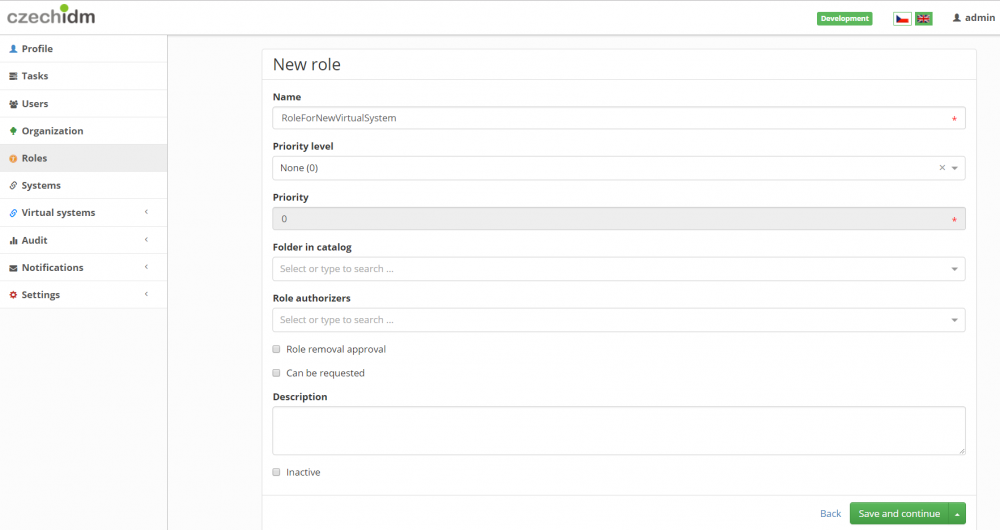
05 - Click on 'Add' green button to create new role
- Dialog for create new role is shown.
- You have to only fill name for your new role.
- In our case 'RoleForNewVirtualSystem'.
- Click on 'Save and continue'.
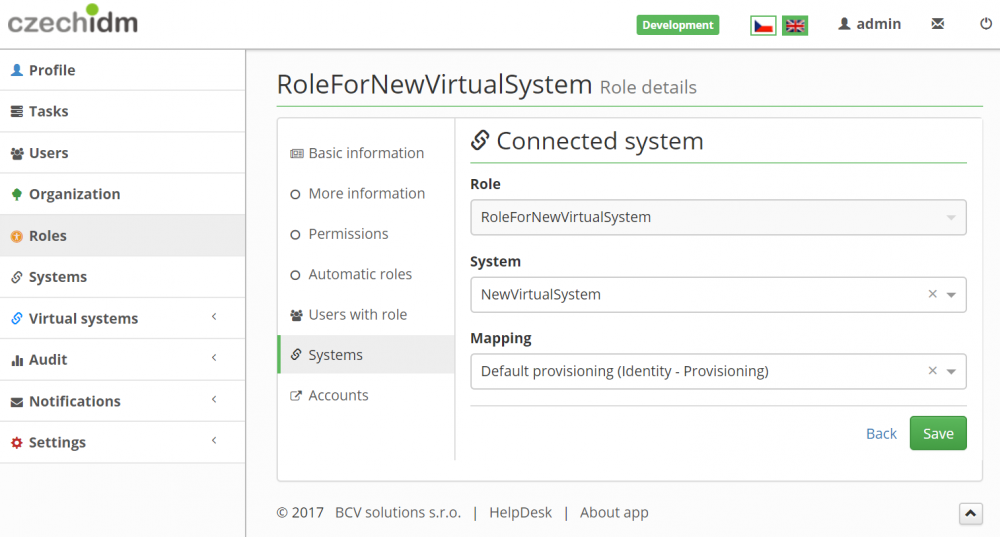
06 - Create mapping on our virtual system
- On created role select tab 'Systems'.
- Click on 'Add' green button.
- In 'System' field select our virtual system 'NewVirtualSystem'.
- In 'Mapping' field select 'Default provisioning (Identity - Provisioning)'.
- Click on 'Save'.
Create new user
- We have created role connected on our system.
- Now we need to create new user 'john.doe'.
07 - In the left main menu select 'Users'.
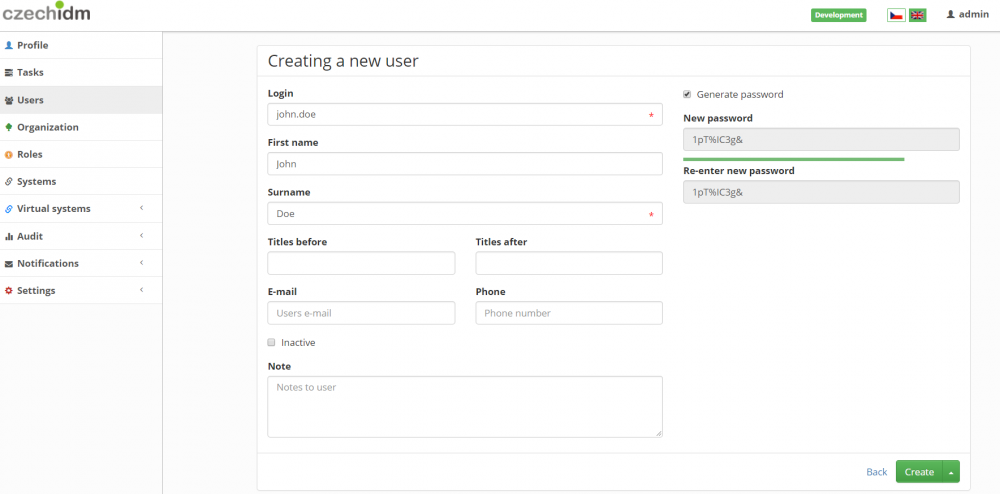
08 - Click on 'Create user' green button
In shown dialog fill fields:
- Username = 'john.doe'.
- First name = 'John'.
- Surname = 'Doe'.
- Click on 'Create and edit'.
Create account on virtual system
- We have created user, role and virtual system.
- Now we need to assign the role 'RoleForNewVirtualSystem' to the user 'john.doe'.
09 - On detail of 'john.doe' select tab 'Roles'.
- Click on 'Manage authorization'.
- On new dialog add new role. Click on 'Add' green button.
- In field 'Role name' select our role 'RoleForNewVirtualSystem'.
- Click on 'Set'.
- Click on 'Submit a request'.
Check created request for virtual system
We assigned role with virtual system to user 'john.doe'.
- Request for create new account 'john.doe' on virtual system 'NewVirtualSystem' was created.
- Email notification was created and send on implementers.
10 - We can check request
- In right main menu select 'Virtual systems / Request'.
- You can se list of unresolved request.
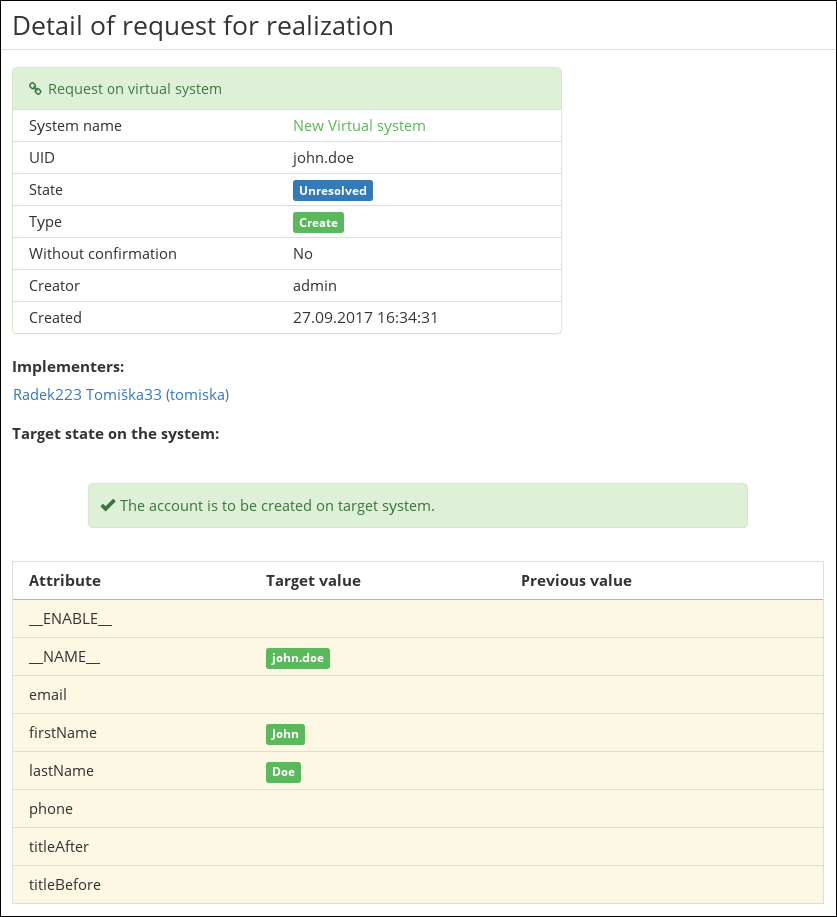
- Go to detail for request with UID 'john.doe' and system 'NewVirtualSystem' (click on button with "magnifying glass").
- You can now see request for creating new account.
Admin tutorials
Video Guide
How to create virtual system - czech language
