Virtual system - creating and using roles
Introduction
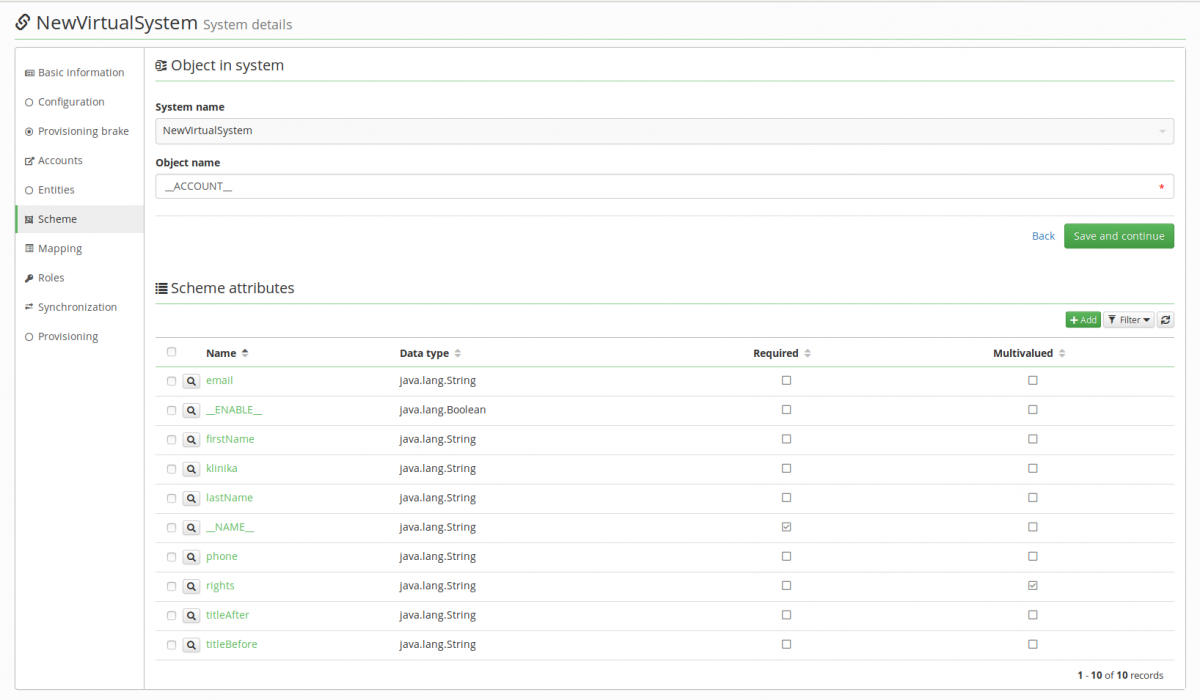
If you followed the quick start tutorial to create a virtual system, you should find that among the attributes in your scheme, there is one called "'Rights' - multivalued merge attribute." This attribute represents the rights users of the managed system have. It can be best managed using roles, as we will show in this tutorial. They allow for an easier, safer and more regular rights management in connected systems.
Step 1: create the role and assign it to the system
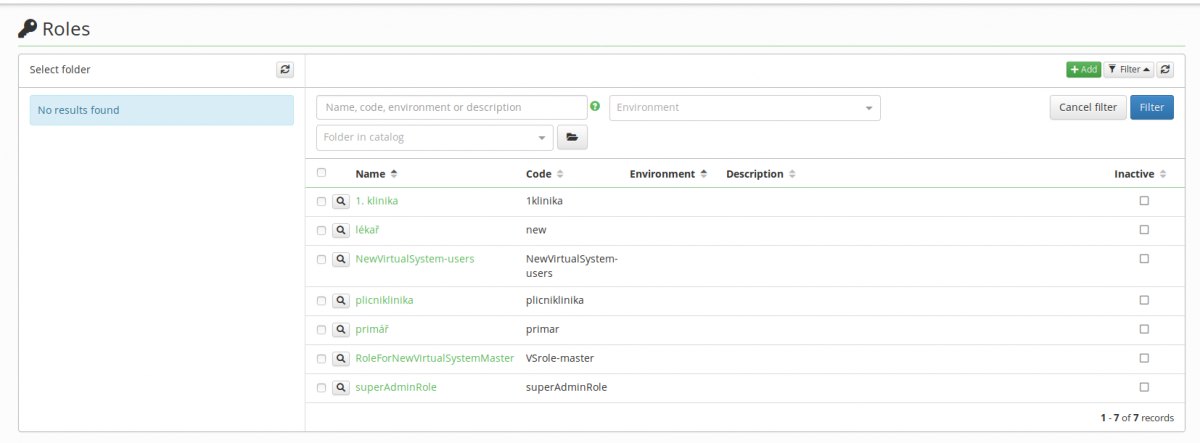
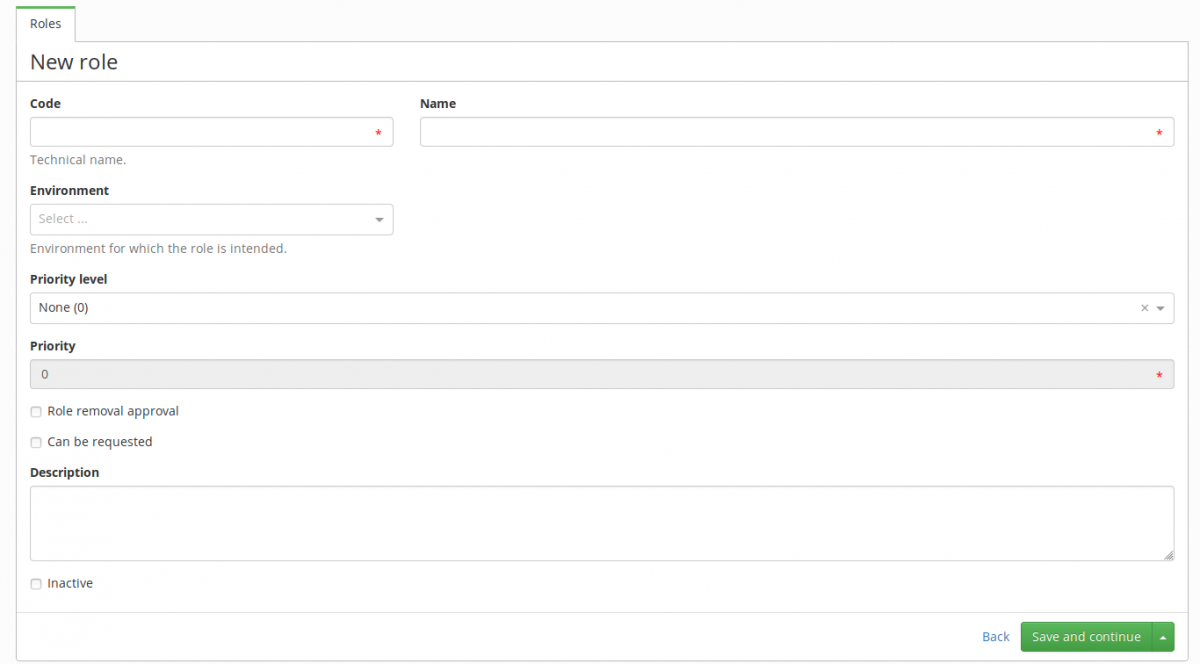
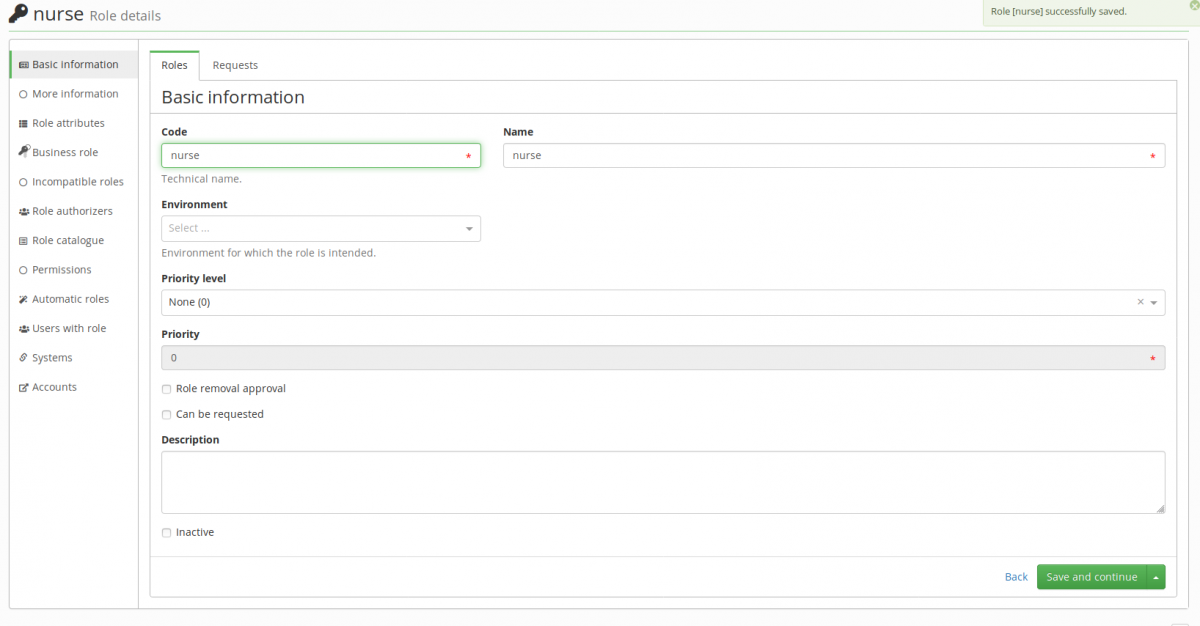
In the left panel, select Roles, Roles. Click the green button Add. Here, you have to fill the Code and Name fields. Click Save and continue.
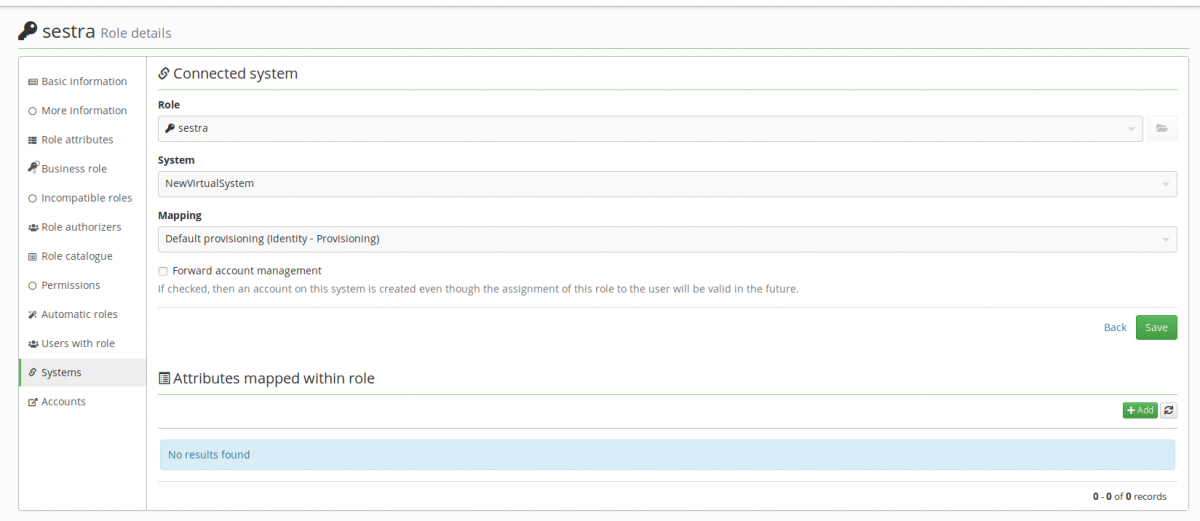
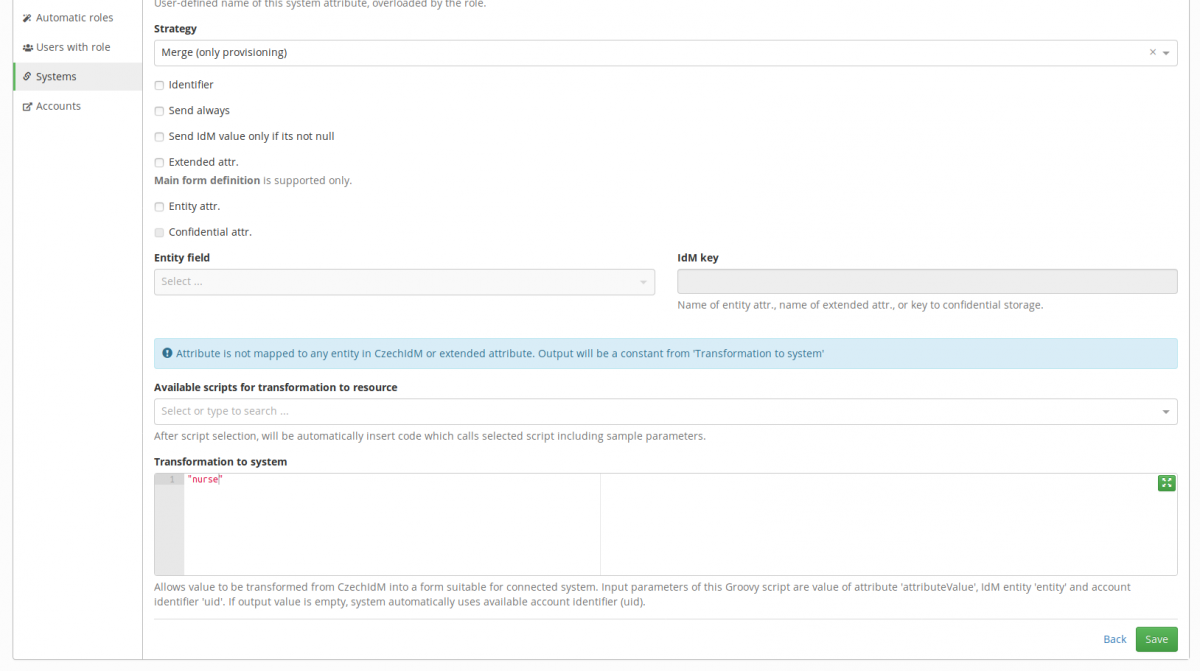
Then click Systems in the Role details and click the green button Add. Select your virtual system in System and click Save. Once you do this, Attributes mapped within role should appear. Click Add.
Select the rights attribute in Attribute in system. Leave everything as is but specify the rights you want the user with this role to hold in Transformation to system. Simply write their rights in double quotes. Click save.
Step 2: assign the role to a user
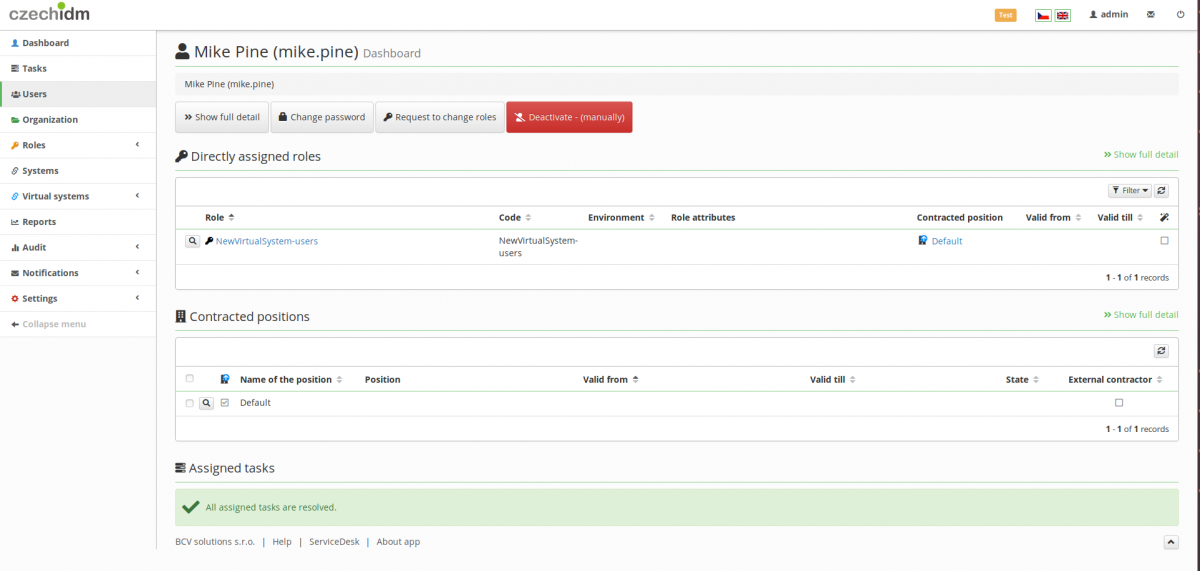
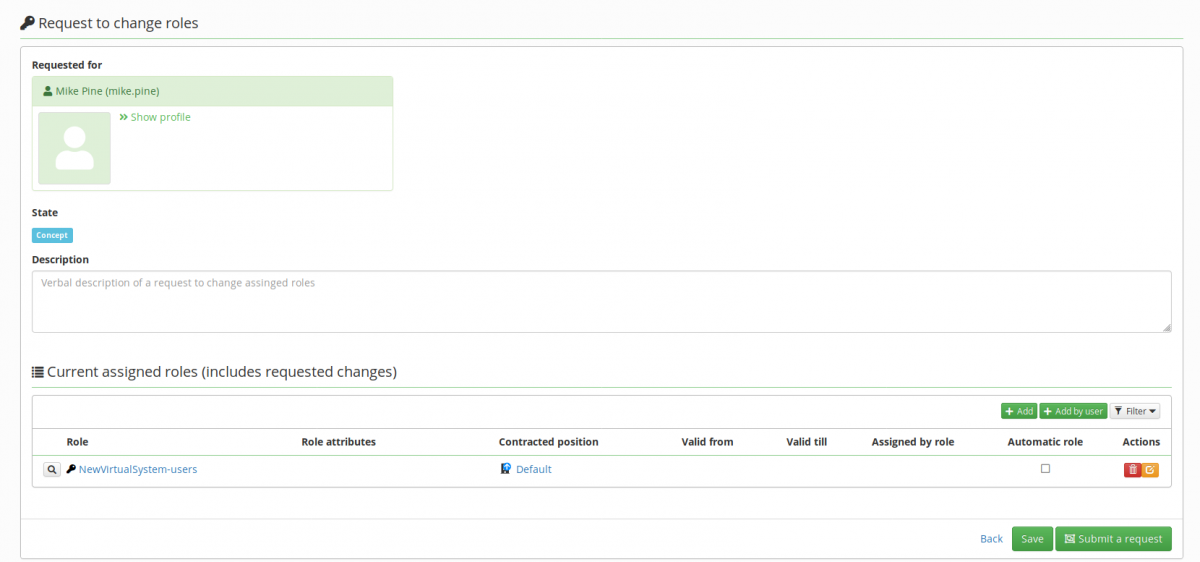
In this step, the you assign to role to a user in the same way you would any other. Click Users in the left panel and select the user to whom you want to assign the newly created role. Click Request to change roles.
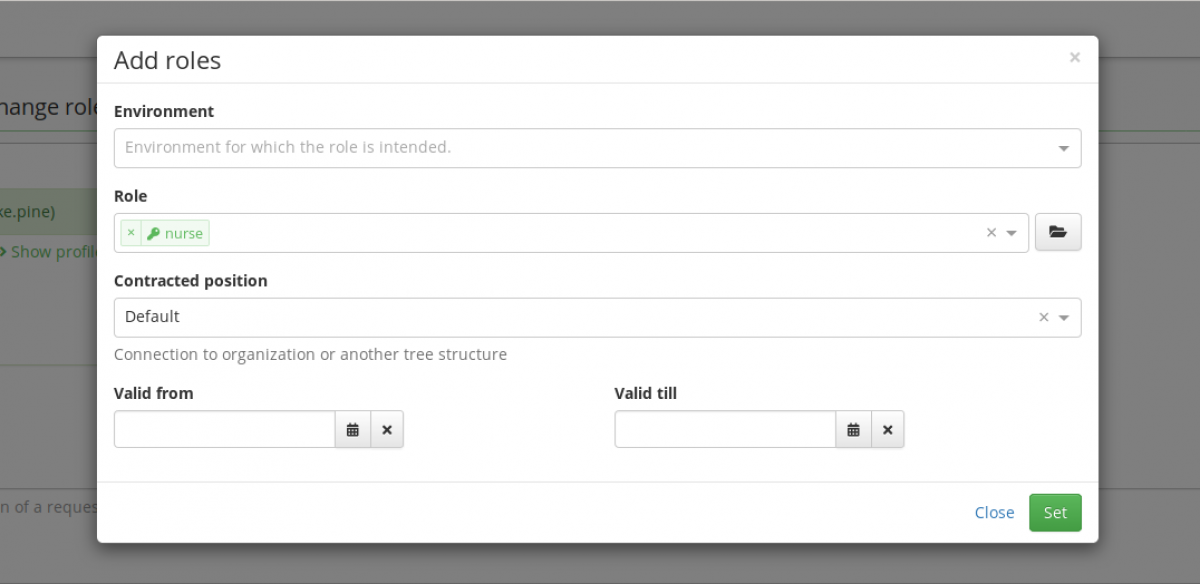
Now under Current assigned roles (includes requested changes) click the green button Add and select the role you've created. Click Set, then click Submit a request.
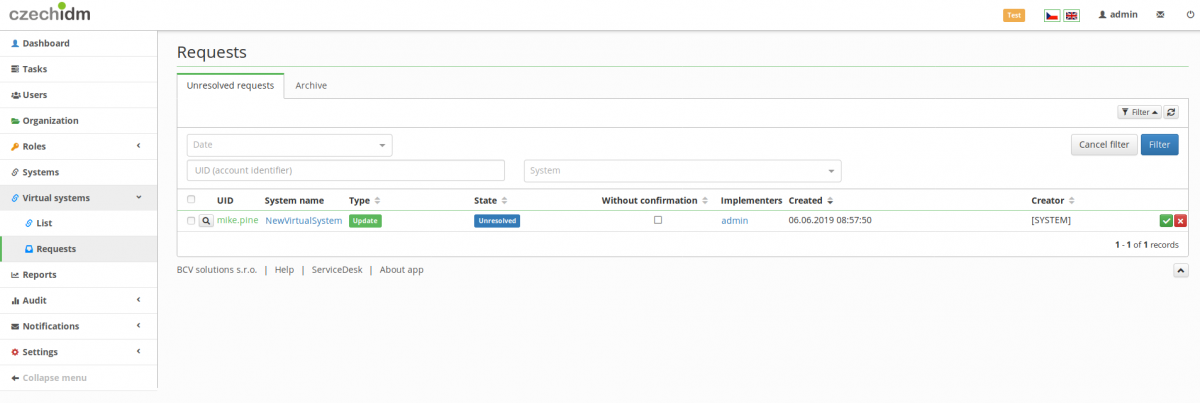
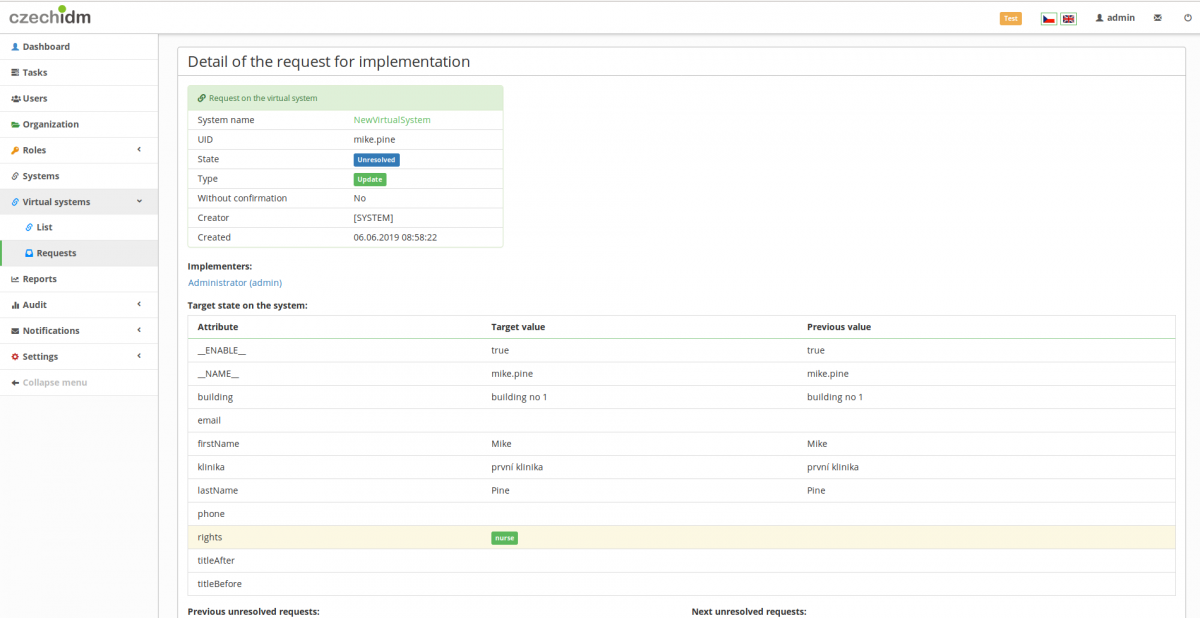
If you now look under Virtual systems and Requests, you will see that the implementer is notified and has to confirm whether or not the change in rights in the connected system was performed.
